Showing posts with label be dazzling paper. Show all posts

Saturday, August 28, 2021

Saying goodbye with Delicate Dahlias

 Hello Crafty Friends!

I have a card sample that I created for a friend and co-worker of mine that will be moving into a new chapter of life in her career. 

I didn't want to pass up the opportunity to use the Delicate Dahlias stamp set from the 2021 Sale-a-Bration brochure.  This exclusive stamp set can only be earned for FREE when you purchase $50 or more in current Stampin' UP! products.

This sweet card is not the typical card size. I made it larger so that our office folks can have plenty of room to sign it. The finished card size is A9 (5 1/2 x 8 1/2).


 I CASE-D (Copy And Share Everything) this card from Simone Bartrum that had a few project ideas she showed on Pinterest. I loved the layout she created for the card and I made my card similar with a few different elements and different colors: Polished Pink and Mint Macaron. 

Cardmaking Tips

  • finished card size is 5 1/2" x 8 1/2" from Polished Pink cardstock.
  • The Basic White mat measures 5" X 8"
  • The Mint Macaron piece measures 4 1/4" x 7 7/8"
  • Use the Scalloped Contour Die to trim the left edge of the Mint Macaron piece after stamping the Dahlia images using Mint Macaron ink.
  • Cut 2- 1/4" strips of the Be Dazzling Specialty Paper to adhere toward the left edge of the Mint Macaron piece. (This is only available for FREE as part of the Sale-a-bration promotion).
  • The Dahlias, small flowers, and leaves are stamped on Basic White cardstock and fussy cut to adhere to the card front with dimensionals.
  • The last little touch is to place some 2021-2023 In-Color jewels as shown.
  • The inside of the card is kept simple and the sentiment is from the Inspired Thoughts stamp set.

Card Supplies
The following link is a list of all the supplies used to make this card, except for the Sale-a-bration products (Be Dazzling Paper, Delicate Dahlias Stamp set): https://s.tamp.in/Yrli51 


I do hope that this card will bring a smile to my friend's face and that she will treasure all the best wishes that our office group wrote inside the card. 

If you would like to earn the FREE Delicate Dahlias stamp set, head over to my Online Store to begin shopping.

Let me know if you have any questions and feel free to comment below this post! I'd love to hear from  you.


Until next time ... 


Saturday, August 14, 2021

#TGIFC329 Sketch Challenge Meets 'To the Moon'

 Hello Crafty Friends! 

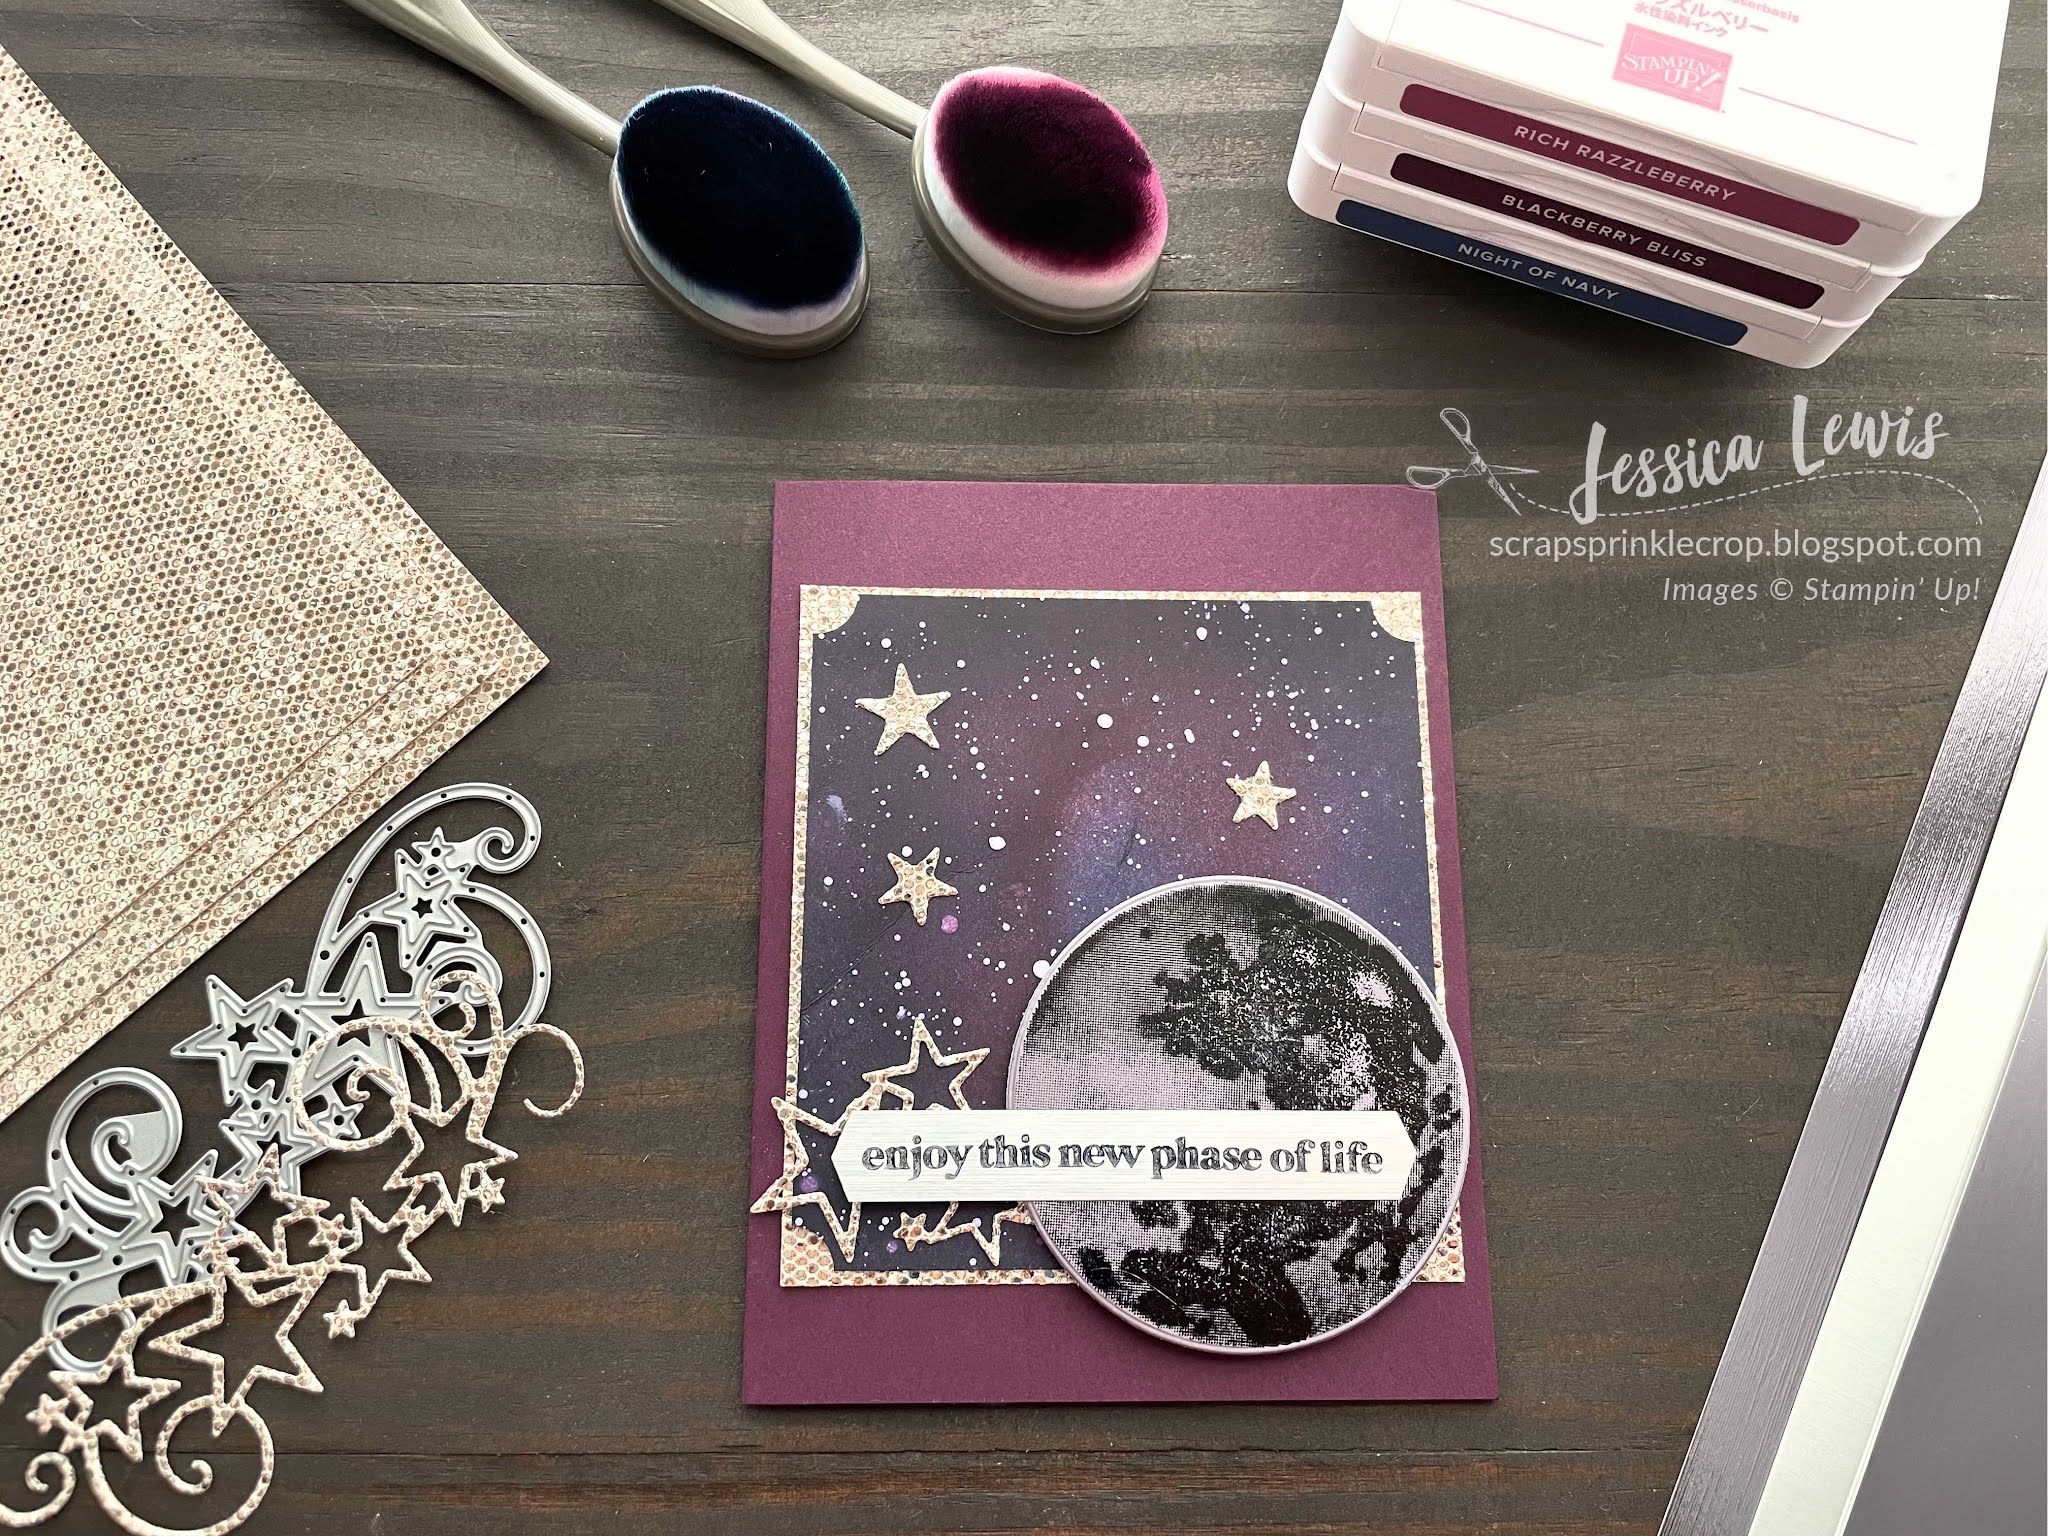
I'm so excited to share the fact that I finally got to use the To the Moon stamp set. I've been itching to find an occasion to use it and I went ahead and gave it a go with this week's TGIF Sketch Challenge #329.


I'm quickly finding that I'm in need of cards that will fit into the Congratulations category for new baby or for retirement, so this card would fit either of those occasions.


As with any sparkly and shiny card, the pictures doesn't do it justice! This lovely Be Dazzling specialty paper glimmers and sparkles in every direction! This paper is so fitting with the moon and the background of this card! 

The background was inspired by a pin I found on Pinterest as I searched for pins related to the night sky. 


 I will soon be posting Here's a video tutorial on how I created this card later this week. But until then, see my tips below. (Updated 8/19/21)


Cardmaking Tips

  • The Blackberry Bliss cardstock card base measures 4 1/4" x 5.5" 
  • The background piece is cut to 3 3/4" x 4" and is layered onto a piece of the Be Dazzling specialty paper that measures 4 1/8" x 3 7/8" .
  • Use Blackberry Bliss, Rich Razzleberry, and Night of Navy inks along with the blending brushes to create the night sky background. A few sprinkles from a blend of white re-inker and water is a quick way of creating the stars.
  • The background piece has the corners cut out using a 1/2" circle punch.
  • Use Stazon ink to stamp the moon image onto the Silver Foil paper (matte finish). Cut the moon using the 2 3/4" circle die. 
  • For the sentiment, cut a 1/2" x 3 3/4" strip of Silver Foil (mirrored finish) and stamp the sentiment onto the strip using Stazon ink. Use the Banners Pick a punch to finish off the ends.
  • Use the stars and swirls die from the Stitched Stars Dies out of the Be Dazzling specialty paper and place onto the card front as shown.
  • The inside of the card is kept simple while using some of the leftover pieces from the stars and swirls cut out. The "congratulations" sentiment was stamped using Blackberry Bliss ink.


Cardmaking Supplies

For a full list of all the supplies used in creating this card (minus the Be Dazzling specialty paper), click on the following link: https://s.tamp.in/mdzrEx 


Let me know your thoughts about my creation for this week's challenge! I'd Love to hear from you in the comments below.


Until Next Time ...