Hello crafty friends!
I had a wonderful weekend (on 11/12/22) of stamping with some sweet and talented ladies while at Onstage Local in Arlington, TX , hosted by Stampin' UP!
There's so much to share so I'll get started with a few pictures that we took together at our table.
I'll have to explain the middle picture on the left... we had a emoji-matching activity together where we needed to match our face with the emoji they showed on the screen. Hence, our funny looking faces! LOL...As part of our fun Onstage experience, there's lots of swapping happening throughout the event and am sharing with you what I received from other demonstrators. If that demonstrator shared their website, I have linked to it in their name.
|
 | | Aletha Pershall |
|
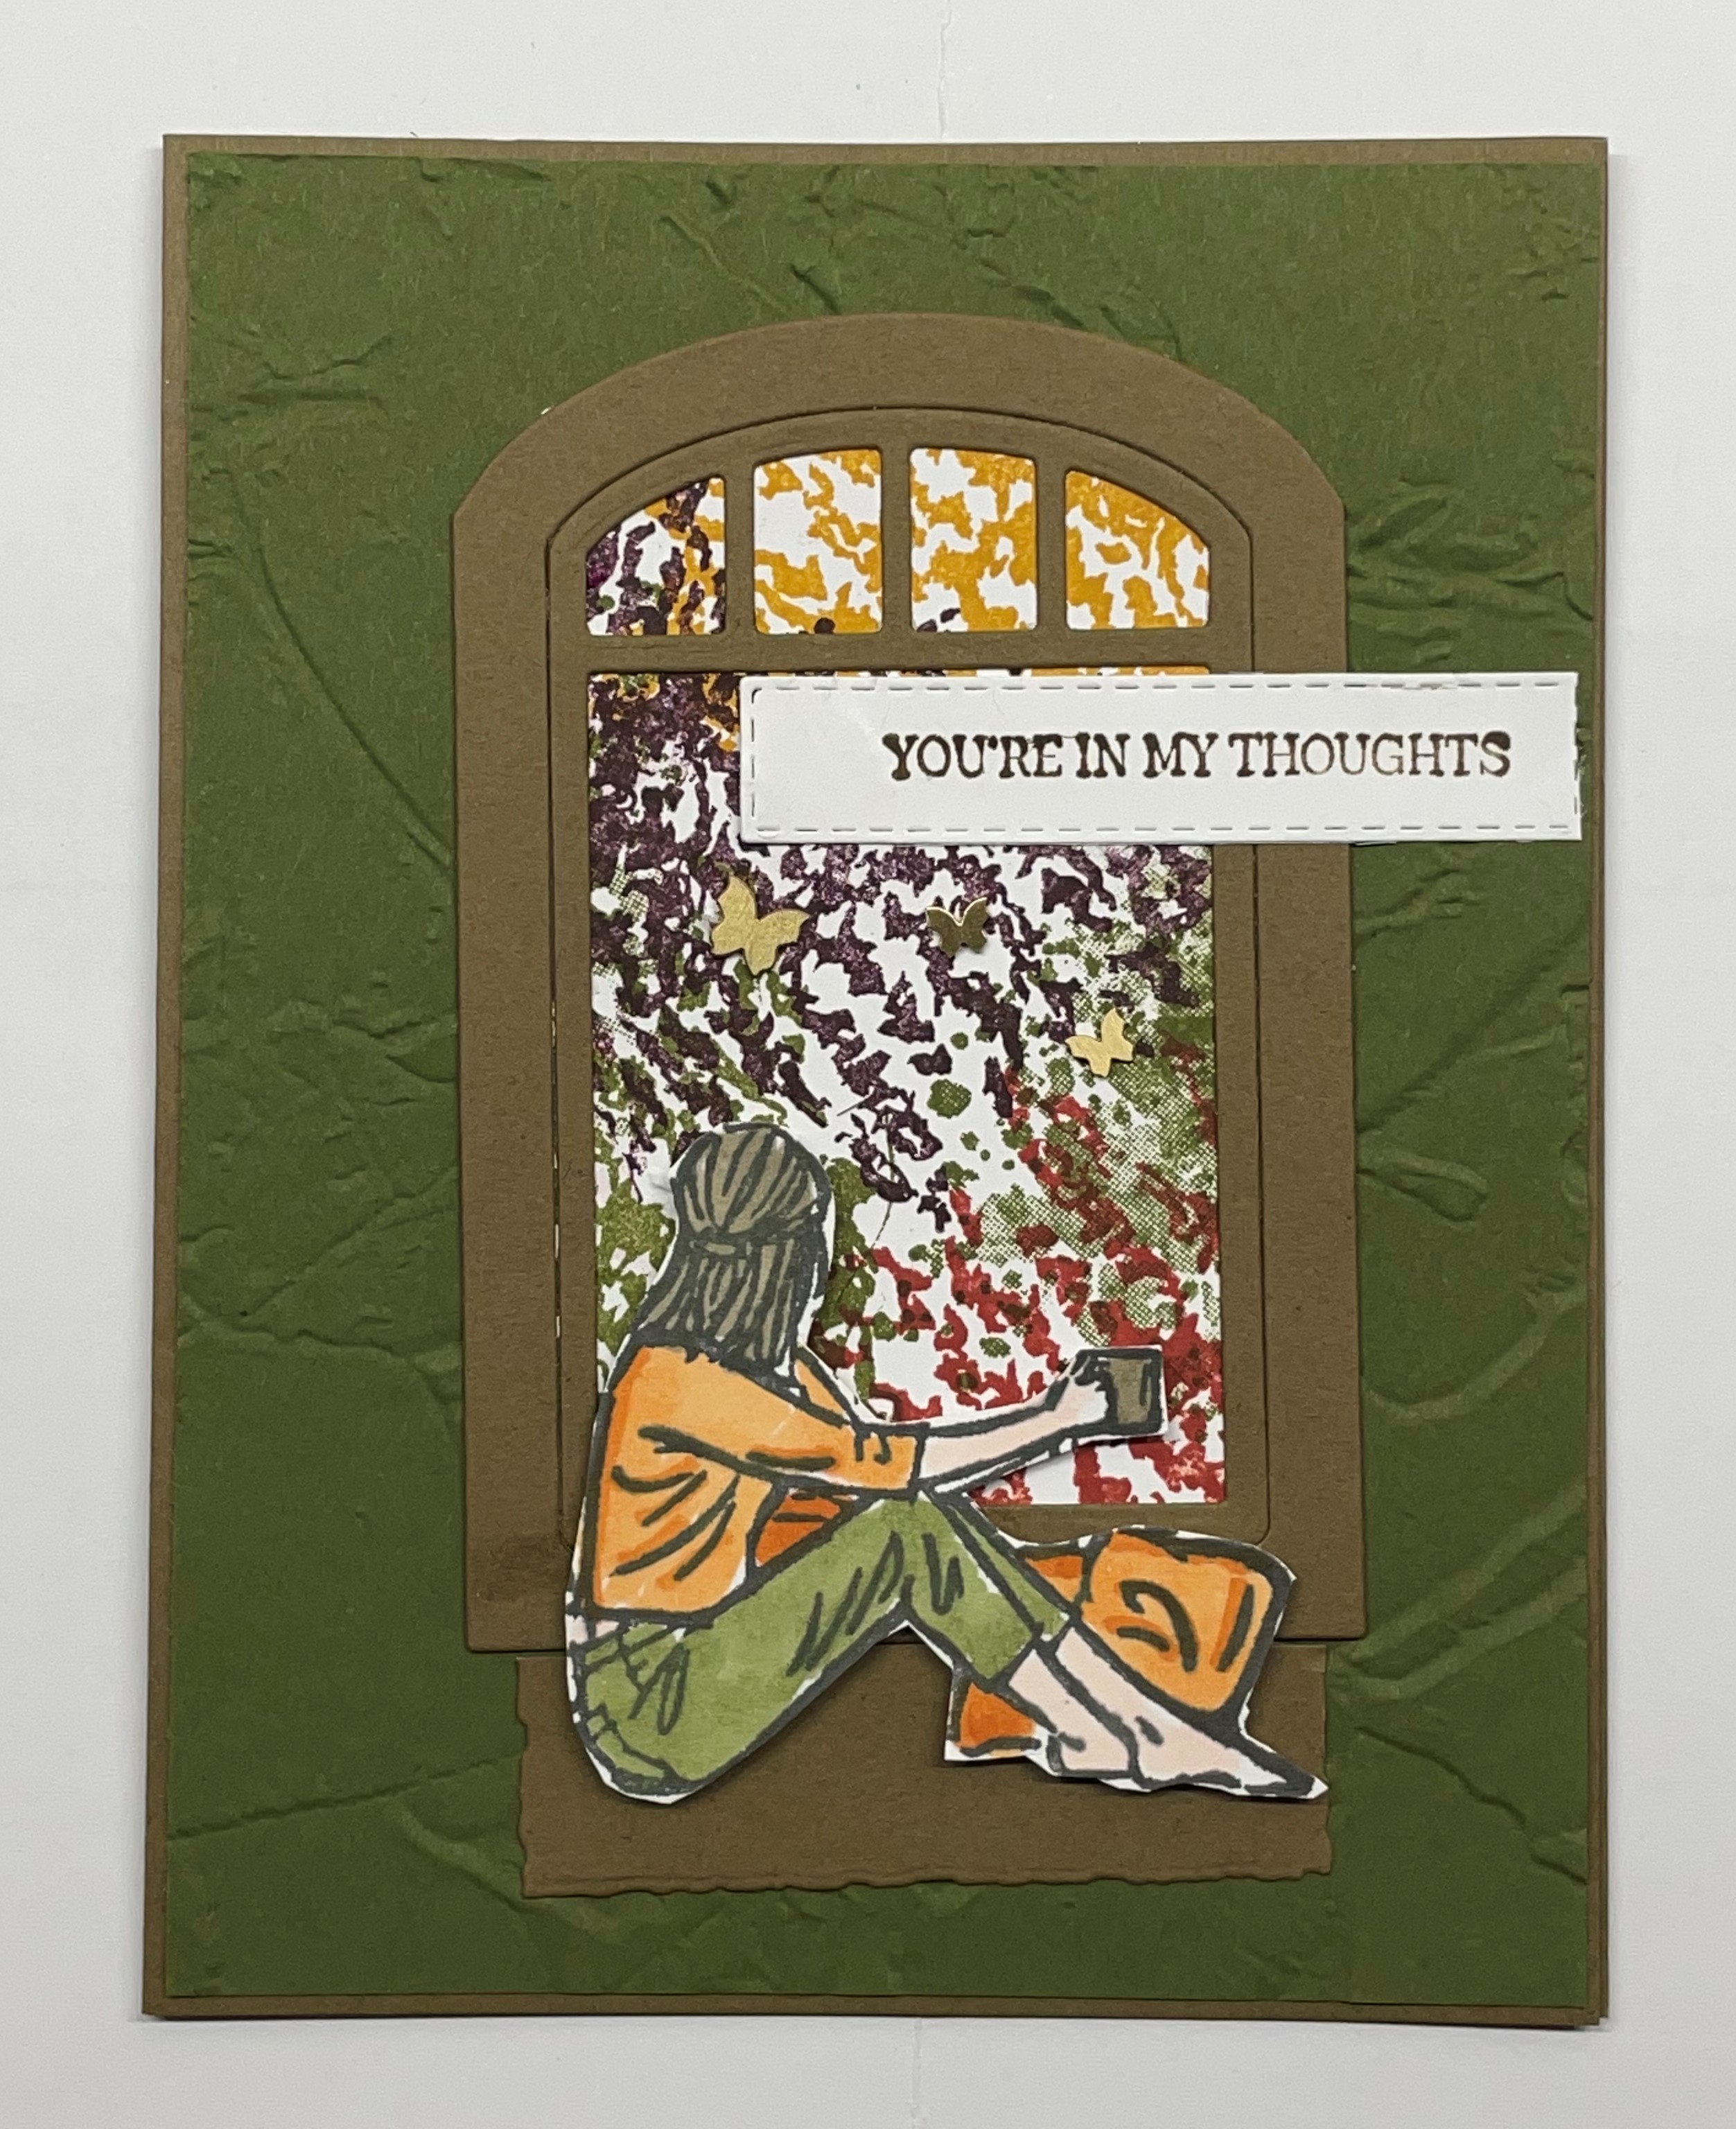
 | | By Ann Cardile |
|
 | | By Caren Curtis |
|
|
|
 | | By Cathy Bartlett - Oklahoma |
|
|
|
|
|
 | | By Diane Taylor |
|
|
 | | By Erica Cerwin - used her very own $1mill stamp set. I want to be like her when I grow up! |
|
 | | By Ethel Wegner |
|
 | | By Jen Kimber |
|
|
 | | By Kathy Morgan |
|
|
|
|
 | | By Sandra Ballas |
|
|
|
|
 | | By Susan Stitt |
|
 | | By Tracey Gouraud |
|
 | | By Tracy Walker - Oklahoma |
|
|
 | | Unknown Demonstrator |
|
 | | Unknown Demonstrator |
|
 | | Unknown Demonstrator |
|
|
 | | Unknown Demonstrator |
|
 | | By Jara Meshell |
|
 | | By Allison Hicks |
|
|
|
|
My Swaps
As for me, I chose to create 2 different swap cards, where both are Christmas/Holiday themed. You may not believe this, but I hadn't played with the stamp sets that I used to design these cards until this point so this was the perfect opportunity.
Vintage Christmas Card
This is such an adorable and beautiful set - Vintage Christmas stamp set.
I'm a sucker for those additional stamp sets that coordinate with a punch!
Cardmaking Tips & Supplies:
- Finished size is 5" x 3.5"
- When I'm making a large batch of cards, I gravitate towards using the Note Cards & Envelopes set because you already get 20 cards and 20 envelopes that are ready for you to make. This makes me giddy!
- For the stitched rectangle frame, I recommend you think ahead of time and use cut out for another card. I used mine for the next Christmas Scottie Card below. After cutting out the frame, emboss it with the Leaf Fall embossing folder.
- If you have a 3/4" circle punch, use it to punch out the "Happy Holidays" sentiment. Otherwise, you may look for a circle die that will be close enough to cut it out.
- After stamping the background images, use the largest flower as a guide for placing your Vintage Bottle. Place a bow at the neck of the bottle then adhere another large flower that you will have to fussy-cut out. Don't forget to add some Wink of Stella for some shimmer and shine!
- Below is a list of supplies that I used to create this card.
Christmas Scottie Card
I am partial to the Christmas Scottie stamp set because we have a male black mini schnauzer that looks just like the images in the set. Although we have a boy dog and was the inspiration of this card, it turned out to be a girl-dog card because of the Polished Pink I used throughout the card.
Cardmaking Tips & Supplies:
- Again, when I'm making a large batch of cards, I use using the Note Cards & Envelopes set because you already get 20 cards and 20 envelopes that are ready for you to make.
- Use the Stitched rectangle cut-out from the previous card to use on this card. Hard to tell in the picture but I did heat emboss some snowflakes on the background using clear embossing powder.
- The thin strip of ribbon that resembles a leash was cut from the Polished Pink Ribbon
- Below is a list of supplies for this card:
All in all, it was a much needed time away from the normal routine at home and sure as heck beats having Onstage Online! I missed the interactions between demonstrators and the fun we had together! And that was just the cherry on top!
As demonstrators, we get the perk of pre-ordering products from the NEW 2023 Mini Catalog and Sale-a-bration brochure that's coming on January 5, 2023!!! I may have ordered a few extra products for my birthday 😉! It's always exciting to see those new products on display and in presentations!
Thanks so much for joining me this week and please don't hesitate to comment below if you are inspired by any swaps made from our demonstrators!
Until next time ...