Sunday, July 15, 2012

July Club projects

As you had seen in my previous post last week, one of our July club projects was an easy and simple layout that gave  a grand effect! I'm completely in love with those In-Color Dahlias!

Our next project was a simple mini pizza box. I used the template from Mary Fish's video tutorial. I used her idea of using it to store 3x3 cards and that's exactly what we did. For starters, we decorated the outside of the box using the "Language of friendship" stamp set and Floral district DSP.
A little pearl in the center of the flower gave it a beautiful finishing touch!


 The 3x3 cards that we made to store inside included the same stamp set we used to decorate the box. We used the Designer frame embossing folder to create a simple outline to put our bird in then we used the paper piercing pack to create a hole in the middle of each scallop.


 Supplies used for the projects:

o   Cardstocks: whisper white, crumb cake, rich razzleberry, baja breeze, daffodil delight
o   DSP: Floral District
o   Inks: rich razzleberry,
o   Markers: daffodil delight, early espresso, pumpkin pie, old olive
o   Stamp sets: language of friendship
o   Punches: scallop edge border, bird builder, decorative label
o   Big Shot machine with Designer frames embossing folder
o   ¼” stitched grosgrain ribbon – daffodil delight
o   Essentials paper piercing pack

 Thank you again for taking a look at our projects! If you have any questions or comments, I'd be happy to help you out!


Sunday, July 8, 2012

Stamp Club Preview

I'm already excited about our upcoming stamp club projects this month! the new 2012-2014 In-Colors can make a perfect combination for a "summer-y" card. 

The card I created below is a case from a fellow SU! demo's blog, Simone Bartrum. I wouldn't have thought about having a layout such as this, but I'm in love with it!

Card created by: Debbie from Creswick


 Basic Steps I used to create this card:
1.     Fold an 11” x 4 ¼” piece of baja breeze CS in half.  Cut off 1” from the top   front of the card.
2.     Cut a piece of DSP to 5 3/8” x 3 ¼” and adhere to the front of the card.
3.     Using the 1 ¾” circle punch, punch half of the circle towards the top right side of the front.
4.  Decorate as you would like.

  Supplies used:
o   Cardstocks: whisper white, primrose petals, baja breeze
o   DSP: Patio Party
o   Inks: midnight muse, baja breeze
o   Markers: primrose petals, summer starfruit
o   Stamp sets: Betsy’s Blossoms, Teeny Tiny Wishes
o   Punches: 1 ¾” circle, corner round
o   Betsy’s blossoms wheel with guide
o   ¼” stitched grosgrain ribbon – midnight muse
o   In-Color Dahlias


If you want to make this card and more, join us on July 14th at 10am in Rowlett,TX for a fun filled morning of stamping and creating! Contact me at jretana06@gmail.com for details. 

Stay posted to see what our 3-D project will be. Let me know what you think about my projects, I love feedback! Thanks for lookin'!

Saturday, June 23, 2012

Mosaic tile stamping

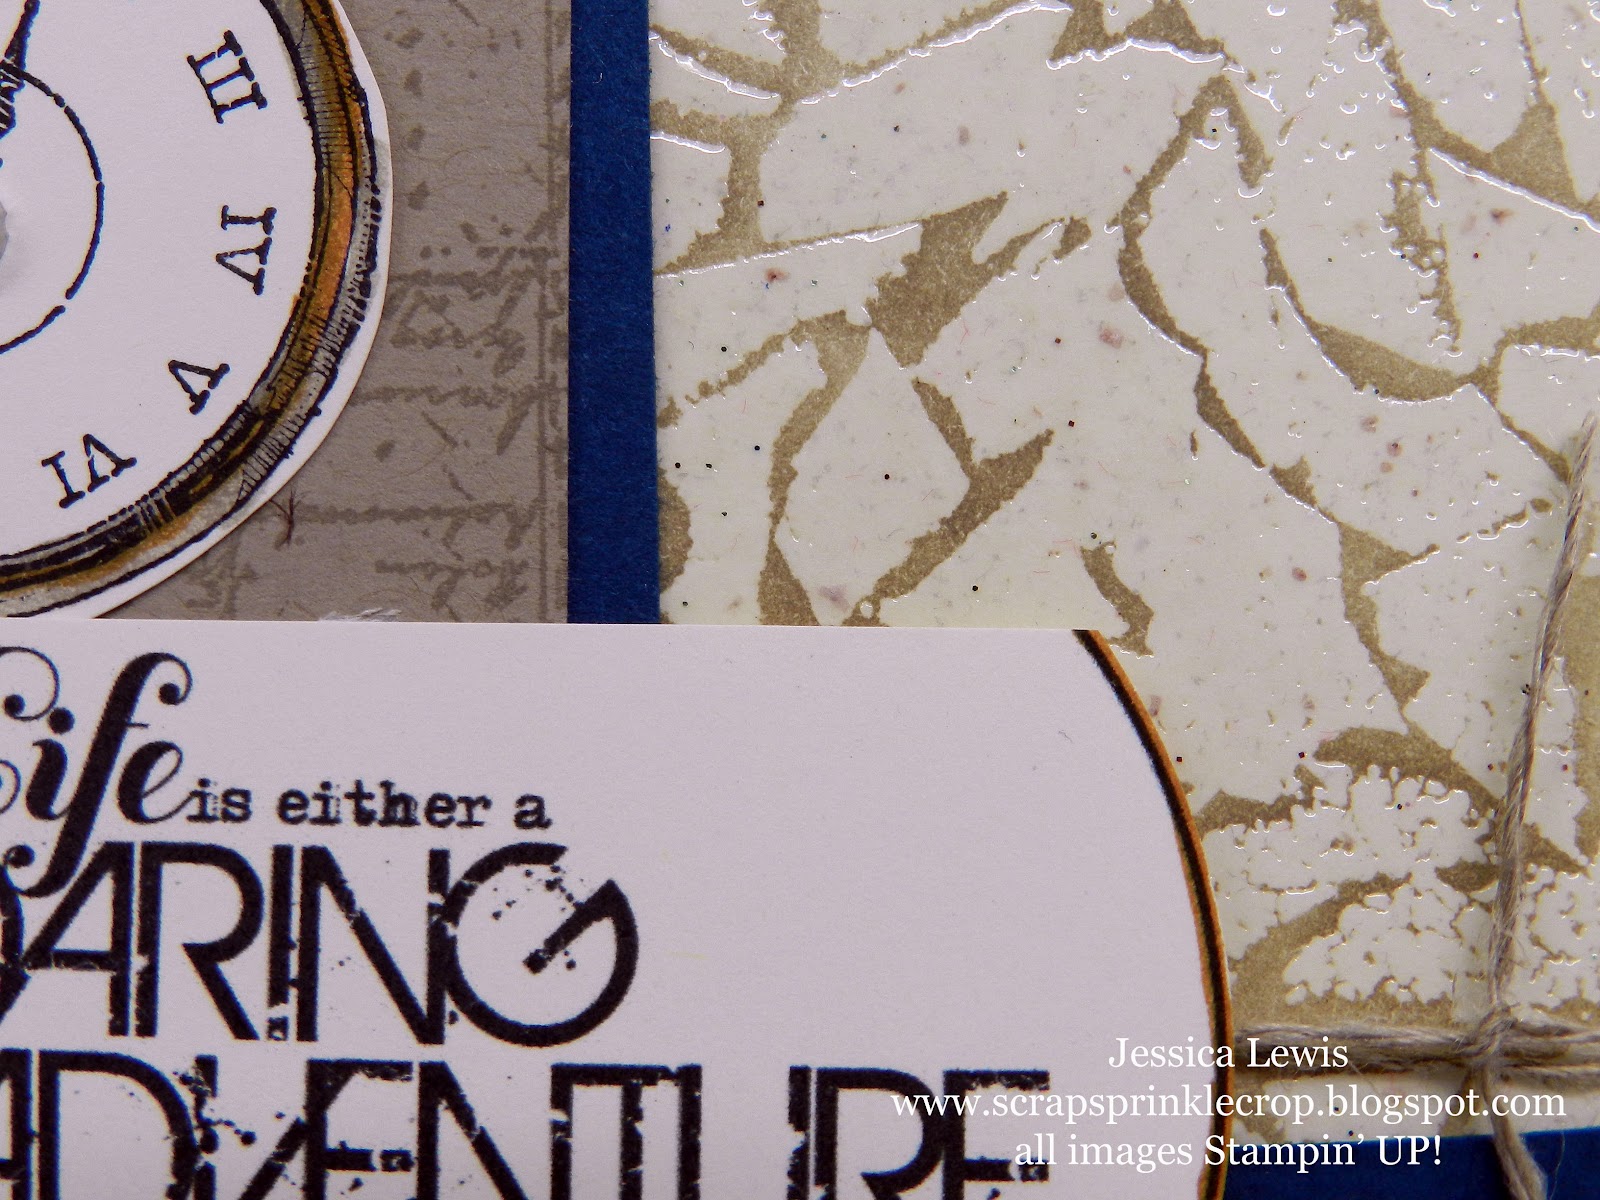
I recently fell in love with an emboss-resist technique using a mosaic tile stamp that you can create on your own! Thanks to Dawn Olchefsky, a Stampin' UP! demonstrator, she created a video showing this technique. 

I had to create my own using a piece of wood that I bought from my local hardware store. I made mine permanent so I won't have to worry about putting it together every time I want to stamp. 


This new stamp inspired me to create my cards for a card swap at the Stampin' UP convention coming up in July. You just get a sneek peek of what I'm made. Stay posted to see the whole card.


Hope you get inspired just like I did! This was so much fun! Thanks for looking, "blog you" again soon!


Thursday, June 14, 2012

Another set of projects

Yesterday I had a blast making a couple of projects for the stamp club that I attend from my upline, Denise Sullivan. She had us make a masculine and simple father's day card that combined marina mist and gumball green quite nicely!


we also used the chevron embossing folder, which I believe to be a really masculine and fun design for a card like this! I love it! Forgive me for not have a perfect tie on the left there..... =o)

Supplies used: Best dad ever stamp set; chevron embossing folder; marina mist ink, midnight muse ink, gumball green ink; marina mist CS, midnight muse CS, gumball green CS, whisper white CS, Polka dot parade DSP; 3/16" neutrals brads.

We also put together a 4th of July mini scrapbook that's simply bursting with fun (pun intended)! All you do to make the holder is:
  • use a piece of CS that's cut to 6" x 12" then scored at 5", 5 1/2", and 11". 
  • For the inside, cut 5" x 5 1/2" pieces of CS that you desire to place into the holder for your pictures.For this project, we made 3 but you can place more.
  • punch a hole in your holder and CS pieces then insert a brad and there you have it
 
Supplies used: cherry cobbler CS, whisper white CS; You're amazing stamp set; Blue Ribbon stamp set; World spectacular DSP;Memorable moments stamp set; 1/4" stitched grosgrain ribbon.


 thanks for lookin'!


Sunday, June 10, 2012

June Club projects

Another exciting day with my fellow stampers! This month we put the "clockworks" stamp set to good use. The Father's Day card we made was one of my favorite masculine cards! This card is a showcase in the new catalog on page 105. I changed a couple of things up a bit for my club but essentially has the same layout.

My favorite part of this card is getting to use so many different tools to make it! We used a piece of clear window sheet and stazon for the clock then used silver embossing powder to make the frame of the clock stand out. To give the banner a little bit of texture, we embossed it at an angle using the Stripes embossing folder. In addition, we used the color spritzer tool (my FAV!) to splatter some "More mustard" and give it some "umph!" . The combination of textures and colors brings it all together very nicely.


·       Supplies used for Father's day card:
o   Cardstocks: very vanilla, more mustard, basic black
o   Inks: black stazon, midnight muse, more mustard, garden green, basic black, versamark
o   Markers: more mustard
o   Stamp sets: Clockwords, Best Dad Ever
o   Punches: 1” square, 1 ¼” circle
o   Stripes embossing folder
o   Window sheet
o   Silver embossing powder
o   Color spritzer tool


Our next project was a simple and cute frame. Like I told my fellow stampers, "you don't have alot to work with when most of the space is taken up by a picture". We used two of the five new In-Colors here: Raspberry Ripple and Midnight Muse. To give it a little "pop", we added some very vanilla.


Thanks for lookin'!!!

Sunday, June 3, 2012

Open House!


 Finally, the moment many of us have been waiting for......the NEW STAMPIN' UP! 2012-2013 catalogs have arrived! The new look and feel is wonderful! It's easy to follow and transitions very well from one section to the next. The photography of the projects are very inspiring and I hope you are enjoying paging through all that goodness as much as I am!

If you don't have your catalog yet, make sure to contact your local demonstrator for one. You are also welcome to contact me to get your copy.

Click on my link to the right to view the digital version of the catalogs in addition to the Stampin' Supplies .pdf (contains all supplies used for each project shown in the catalog).

To kick off the new catalog, my fellow stampers created a simple but cute make n take using the new IN-COLORS and new stamp sets (Betsy's Blossoms on the left, Bright Blossoms on the right). We made a small "gable box" which was passed on to me by one of our own, Mary B., whose husband was very kind to produce the template below.

The gable box below is the one that Mary created.


This is my version of that same box.


The major supplies used to make this project include:
  • Cardstock: summer starfruit, whisper white
  • Inks: summer starfuit, raspberry ripple, midnight muse, gumball green
  • Stamp sets: Betsy's blossoms, Bright blossoms, tiny tags
  • Punches: 1" square , 3/4" circle, postage stamp
  • ribbons: linen thread 

Sunday, May 27, 2012

New Ink Pads and In-Colors

I just couldn't wait to get my hands on the new ink pads that so many people have been raving about. Well, after I tried it out myself, I was in LOVE! My stamping experience has jumped up another level for me! There was no need to constantly tap to make sure you have inked your whole stamp. It's really an experience I can't describe until you try it!

Denise Sullivan, a fellow SU! demonstrator, had some make n takes for us this weekend to kick off the new 2012-2013 catalog. This card was made using the following products:

  • 2012-2014 In-colors (Raspberry Ripple, Summer starfruit, midnight muse, primrose petals, and gumball green)
  • Betsy's Blossoms stamp set
  • Apothecary Accents Framelits
  • 1/4" stitched grosgrain ribbon
  • Cardstock: whisper white, gumball green


 Shannon West with Stampin' UP has a great video for us to explain in detail these cool new ink pads!


If you're like me and are dying to know what the rave is about for the new catalog and ink pads, you must join me on Saturday, June 2nd @ 10am for a make n take and to get your own copy of the new Stampin' UP catalog. 

If you don't have a demonstrator to order your catalogs or products, you are welcome to go to the "demonstrator locator" on the Stampin UP website to find one nearest you or you are also welcome to choose me as your demonstrator.

Thanks for lookin'!

Monday, May 21, 2012

May Club projects

Our May stamp club ladies got together this past Saturday at my place to create what I believe to be one of the cutest projects we've put together! With the summer approaching closer and closer, it is fitting to use sunflowers this month.

We created a set of coasters using 4" tiles that you can purchase from your local hardware store. Just use a little staz-on ink to stamp your desired image and word onto the tile and VOILA!!! cute coasters, for any occasion or season! LOVE IT!!!

Add some felt bumpers to the bottom of your coaster to protect your surface.
to make the petals, I stamped a piece of so saffron CS with the sunflower stamp and then cut out about 13 narrow ovals, then glued them onto a 1 3/4" circle of so saffron. I then glued 13 more blank so saffron petals to the back of the 1 3/4" circle.


 The sunflower card shown above matched our coasters beautifully! This card was inspired by this month's Stampin' Success magazine (a monthly magazine exclusively for SU! demonstrators). The only one thing that is not from our SU! product line are the mini silver beads we glued onto the center of our sunflower. OH, and I also had to use my cricut to cut out the narrow ovals for the petals of the flower =o)

Fortunately, for all of us, most of the following products used to make these projects will be in the new 2012-2013 Stampin UP catalog which is soon to come out June 1st. 


For the Coasters:
o   Inks: black stazon
o   Stamp sets: sunflower (item 123606), Loving thoughts (retired from the occasions catalog)
--  Not Stampin UP: 4” square tiles from your local hardware store (I got mine from Lowes: “Agora Almond”), 3/8” felt bumpers, spray lacquer (I used Rustoleum crystal clear enamel)

 for the sunflower card:
o   Cardstock: crumb cake, so saffron, early espresso, very vanilla
o   DSP: First Edition
o   Stamps: Sunflower, tiny tags
o   Punches: 1 ¾” circle, 1” circle, ¾” circle, tiny tag
o   Inks: more mustard, early espresso, old olive (re-inker)
o   Crystal effects
o   Ribbon: old olive grosgrain, white twine
o   Not SU!: silver mini beads, cricut (for the petals of the sunflower)

*** Remember, you only have 2 weeks left to purchase your favorite stamp sets and accessories that are retiring by May 31st so get them ASAP!!!


Thursday, May 10, 2012

Outdoor Market

I'm really excited to announce my first experience to come......... On Saturday, May 12th I will have a table set up at the Firewheel mall in Garland, TX  to sell the card kits I put together to raise money for our adoption. I also will be promoting Stampin' UP's awesome products, which I used to make the cards I'm selling.

I will be having a "Make N Take" for people that would like to put a little something together along with a Door Prize drawing to win the 2011-2013 In-Color ink pad and card stock set! You really don't want to miss out on this, plus.... you will be supporting your fellow stamper!

Here's a peek at what the Make N Take will be..........hope you will like it! 


Saturday, May 5, 2012

Family Party Invitations

phew! I know it's been awhile since I've blogged. You'll have to pardon me......i was out of town on training for my job. But now I'm back and I have a card to show you.

I made this postcard for a family get-together we will be having for my husband's side of the family. It was one of those quick cards I put together but I enjoyed the way it turned out!

on the back of the postcard (not shown) I stamped the image from the "inviting" stamp set to give details about the family get together.

 
 I used the following products for this postcard:
  • petite pennants builder punch
  • modern label punch
  • party this way stamp set (Sale-a-bration)
  • Cardstock: crumb cake, whisper white
  • old olive grosgrain ribbon 
  • Inks: pacific point
  • Big Shot snow burst embossing folder
  • island indigo baker's twine
  • not stampin' up -- everyday expressions stamp set