Showing posts with label my digital studio. Show all posts

Thursday, February 13, 2014

Stampin' UP! Monster Hugs

Valentines Day is hours away and I would like to share with you my latest creation.

I created these adorable Monster Hug valentines for my co-workers. I am sure both the guys and gals will enjoy them!


My tips:
  • I used the Cootie Shot card template from My Digital Studio (MDS).

  •  I changed the project size of the card template to 8.5x11 then changed the background to white and the fonts to crumb cake; made room for two in one sheet of paper. I then printed it on regular printer paper and trimmed it to size (5.25x6.25 to be exact).
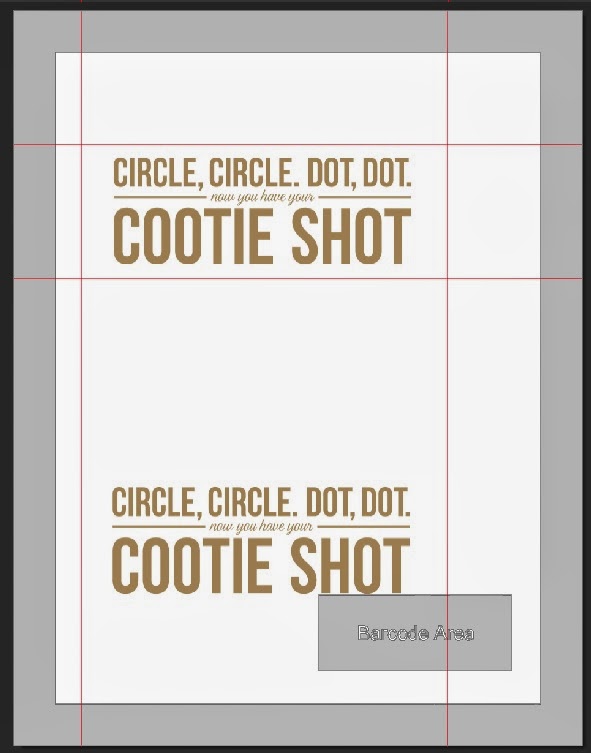
screen shot of My Digital Studio

  •  Once the paper was trimmed to size, I wrapped it around my Hershey bar then adhered my little Monster.

Supplies Used:
  • My Digital Studio - Cootie Shot card template
  • Monster Hugs - BOY
  • real red marker
  • Hershey's chocolate bar (your local store) 


Have a fun & loving Valentine's Day! Thanks for coming over!

 Until next time...


Tuesday, October 22, 2013

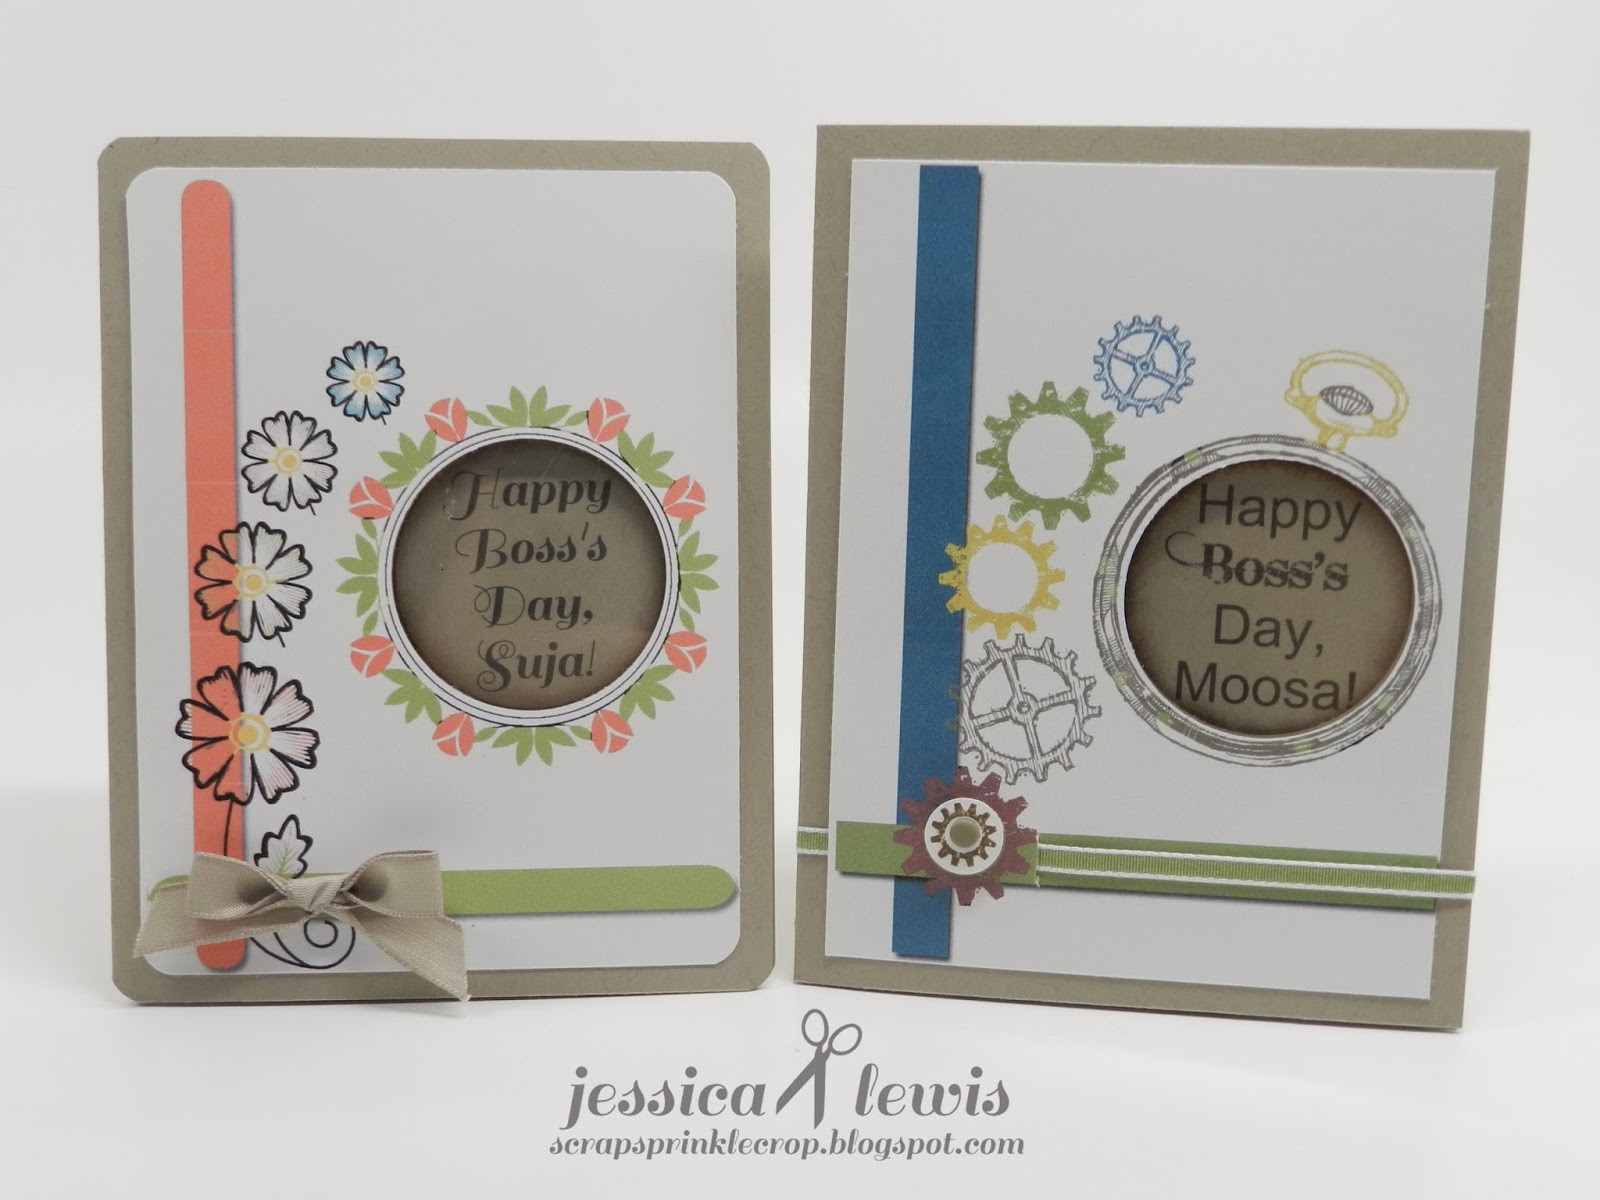
Hybrid Boss's Day cards

This week has been a super busy week for me in my work and personal life. Of course, I had been requested to make 10 Bosses' Day cards for work just to add to the mix!

It's times like these when I say, "Thank goodness for My Digital Studio!" because it helped me make 10 (1 of which is feminine) quick card fronts then I embellished them with some 3-D elements ( in other words: hybrid cards)


Thanks to my "card sketches" pinterest board, I found a masculine layout that I could use for these cards. This sketch was created by Anna-Carin. Simple and masculine.
 My Tips:
  • use the Surprise Me feature under the Combos tab of the Choose Color icon in MDS to select your color combinations. In my case I used: soft suede, island indigo, old olive, and baja breeze.


  •  I used the "clockworks" digital stamp brush set then resized and colored each gear to match my color palette.

  •  I resized the watch so that the middle of it would be 1.75"....just the right size for me to use my 1.75" circle punch.

  • I added a 2" square piece of window sheet with glue dots between the card front and the card base before adhering. The window sheet resembles the face of the watch. 
  • I stamped an extra gear using the clear mount stamp set to make the lower left gear "pop". Then I added a candy dot in the middle.
  • for a feminine design, I used a different color combo (calypso coral, pear pizzaz, bermuda bay, crumb cake) and substituted the gears for some flowers.

Supplies Used (masculine card):
  • cardstock: crumb cake, whisper white
  • ink: soft suede, old olive
  • punches: 1 3/4" circle
  • My Digital Studio: clockworks stamp brush set 
  • embellishments: old olive 1/8" taffeta ribbon, soft suede candy dots. 

 Supplies Used (femenine card): 
  •  cardstock: crumb cake, whisper white
  • punches: 1 3/4" circle
  • My Digital Studio: together forever stamp brush set 
  • embellishments: crumb cake 3/8" taffeta ribbon

Tuesday, July 24, 2012

Stampin' UP Convention 2012 - Check In Day

It was my first time in Salt Lake City and at the 24th annual Stampin' UP! Convention. It certainly was exciting, yet overwhelming with all the activities that were occurring! There were about 3500 people there (including men and women and children). Yes, there were some men in attendance and I give them "props" for being brave amongst so many crazy ladies!


Day one started with check-in day. My roomates and I were quick to get our exclusive SU! bag filled with goodies!


that's me!

Left to right: Nisha and Barb


Left to right: Barb, me, Nisha
Our next stop was at the "demonstrator's resource center"......it was like SU's version of Disneyland! There were hundreds of beautiful cards and projects featuring products from our current 2012 catalogs (including the holiday caddy).


Then we were off to get a head start on our make n takes! this was a wonderful idea considering that we were going to be short on time during the make n take sessions.


 While I was so excited to get my make n take on, I had to stop to take some time for a tour of the corporate office located in Riverton. This was my ONLY chance and I'm so glad I took it!


They call this room the "Legacy Museum".  It was filled with Stampin' UP! legacies all the way from their humble beginnings to beautiful displays created by their concept artists. 


 The distribution center (shown below) is humongous! The very helpful staff informed us about how they get your order to your door so quickly and accurately. All I have to say is ORGANIZATION!!!


 This is the atrium (below), where all gather for breaks and lunch. It's nothing short of beautiful! 


I am skipping alot of goodies but my tour ends at the famous Stampin' UP rock. It's definitely one of a kind!


As the day came closer to an end, I did my first convention card swap and it was well organized and fun! I got 50 swap cards! And believe me, I didn't even compare to the 800 swap cards that some ladies made at convention! I might shoot for 100 next time, but NOT 800!!!

 I had mentioned to you in my previous post that I was going to show you my full swap card and guess what.....I swapped and never got around to a full picture!!! I'm SO SO SO sorry!!! Better luck next time.


Last but not least! many demos got together for the final event of the night.....a My Digital Studio class hosted by Holly Lindford (who was aMazInG!). This class was so awesome, fun, and informative! All I have to say is..........be on the look-out for MDS2!!! You will not regret it!!!


From left to right: Denise, Caren, Jessica (me), and Samantha

 As I've mentioned before, check in day of our convention was off to a wonderful start and I couldn't wait to see what was next! Stay tuned for day 1 of my convention experience tomorrow! Hope you are enjoying yourself so far!


,

Sunday, April 22, 2012

My Digital Studio Class


Hello my fellow stampers!


Have you been wanting to scrapbook your beautiful pictures but hadn't had the time to do it? Well, now you can do it with simplicity and less time with My Digital Studio!!! I will be hosting a FREE class (with door prizes and snacks) to show you how user-friendly MDS is. I will have examples and information of the variety of things that can be made with this software.

The MDS class will be at my house in Rowlett,TX on Friday, April 27th at 7pm


Please let me know you will be joining me so I may have a head count.
Contact me for more information at jretana06@gmail.com 


I CAN'T WAIT TO HAVE SOME FUN WITH YOU!

Tuesday, April 3, 2012

St Patrick's Day pins

St. Patrick's day came and went so quickly, it didn't give me a chance to share what I made sooner!

I put together some shamrock pins for my co-workers at work for St. Patrick's day and had a blast doing it. it was easy, simple and cute!

This project was inspired by a fellow demonstrator that made a similar pin. I had to take it and make it my own!


I used My Digital Studio to print out the phrases. I stamped over the phrases using the bordered stamp from the P.S. I love you stamp set, then I punched it out with the label punch. I really like how they came out!


This is the inspiration. It is very very cute and just had to make something similar to it!

Thanks for lookin'!