
I'm super excited to share with you some creations I put together this week as I was playing around with the Playing with Patterns Suite from page 100 of the 2020-2021 Stampin' UP! Annual Catalog.

This week I created three projects: 2 birthday cards and 1 frame.
I will begin with this "Happy B-Day" card.
HAPPY B-DAY CARD
|


Believe it or not, I've had the Embossing Paste in my drawer waiting to be played with since last year and I finally got it out this time! It did take me some work as I played with it and I do have a dud as you can see with the polka dot piece below on the right. I knew I wanted a rainbow pattern and used the Pattern Party Decorative Masks from the 2019-2020 Annual Catalog.

TIPS:
- If you haven't heard already, this embossing paste does dry pretty fast so you need to work quickly and make sure you rinse your tools under warm ater as soon as you are done using it.
- A little bit goes a LOOOONG way, so start with a little bit of paste and add 1 drop of re-inker of your choice of color.
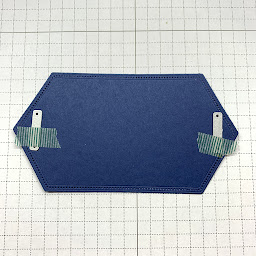
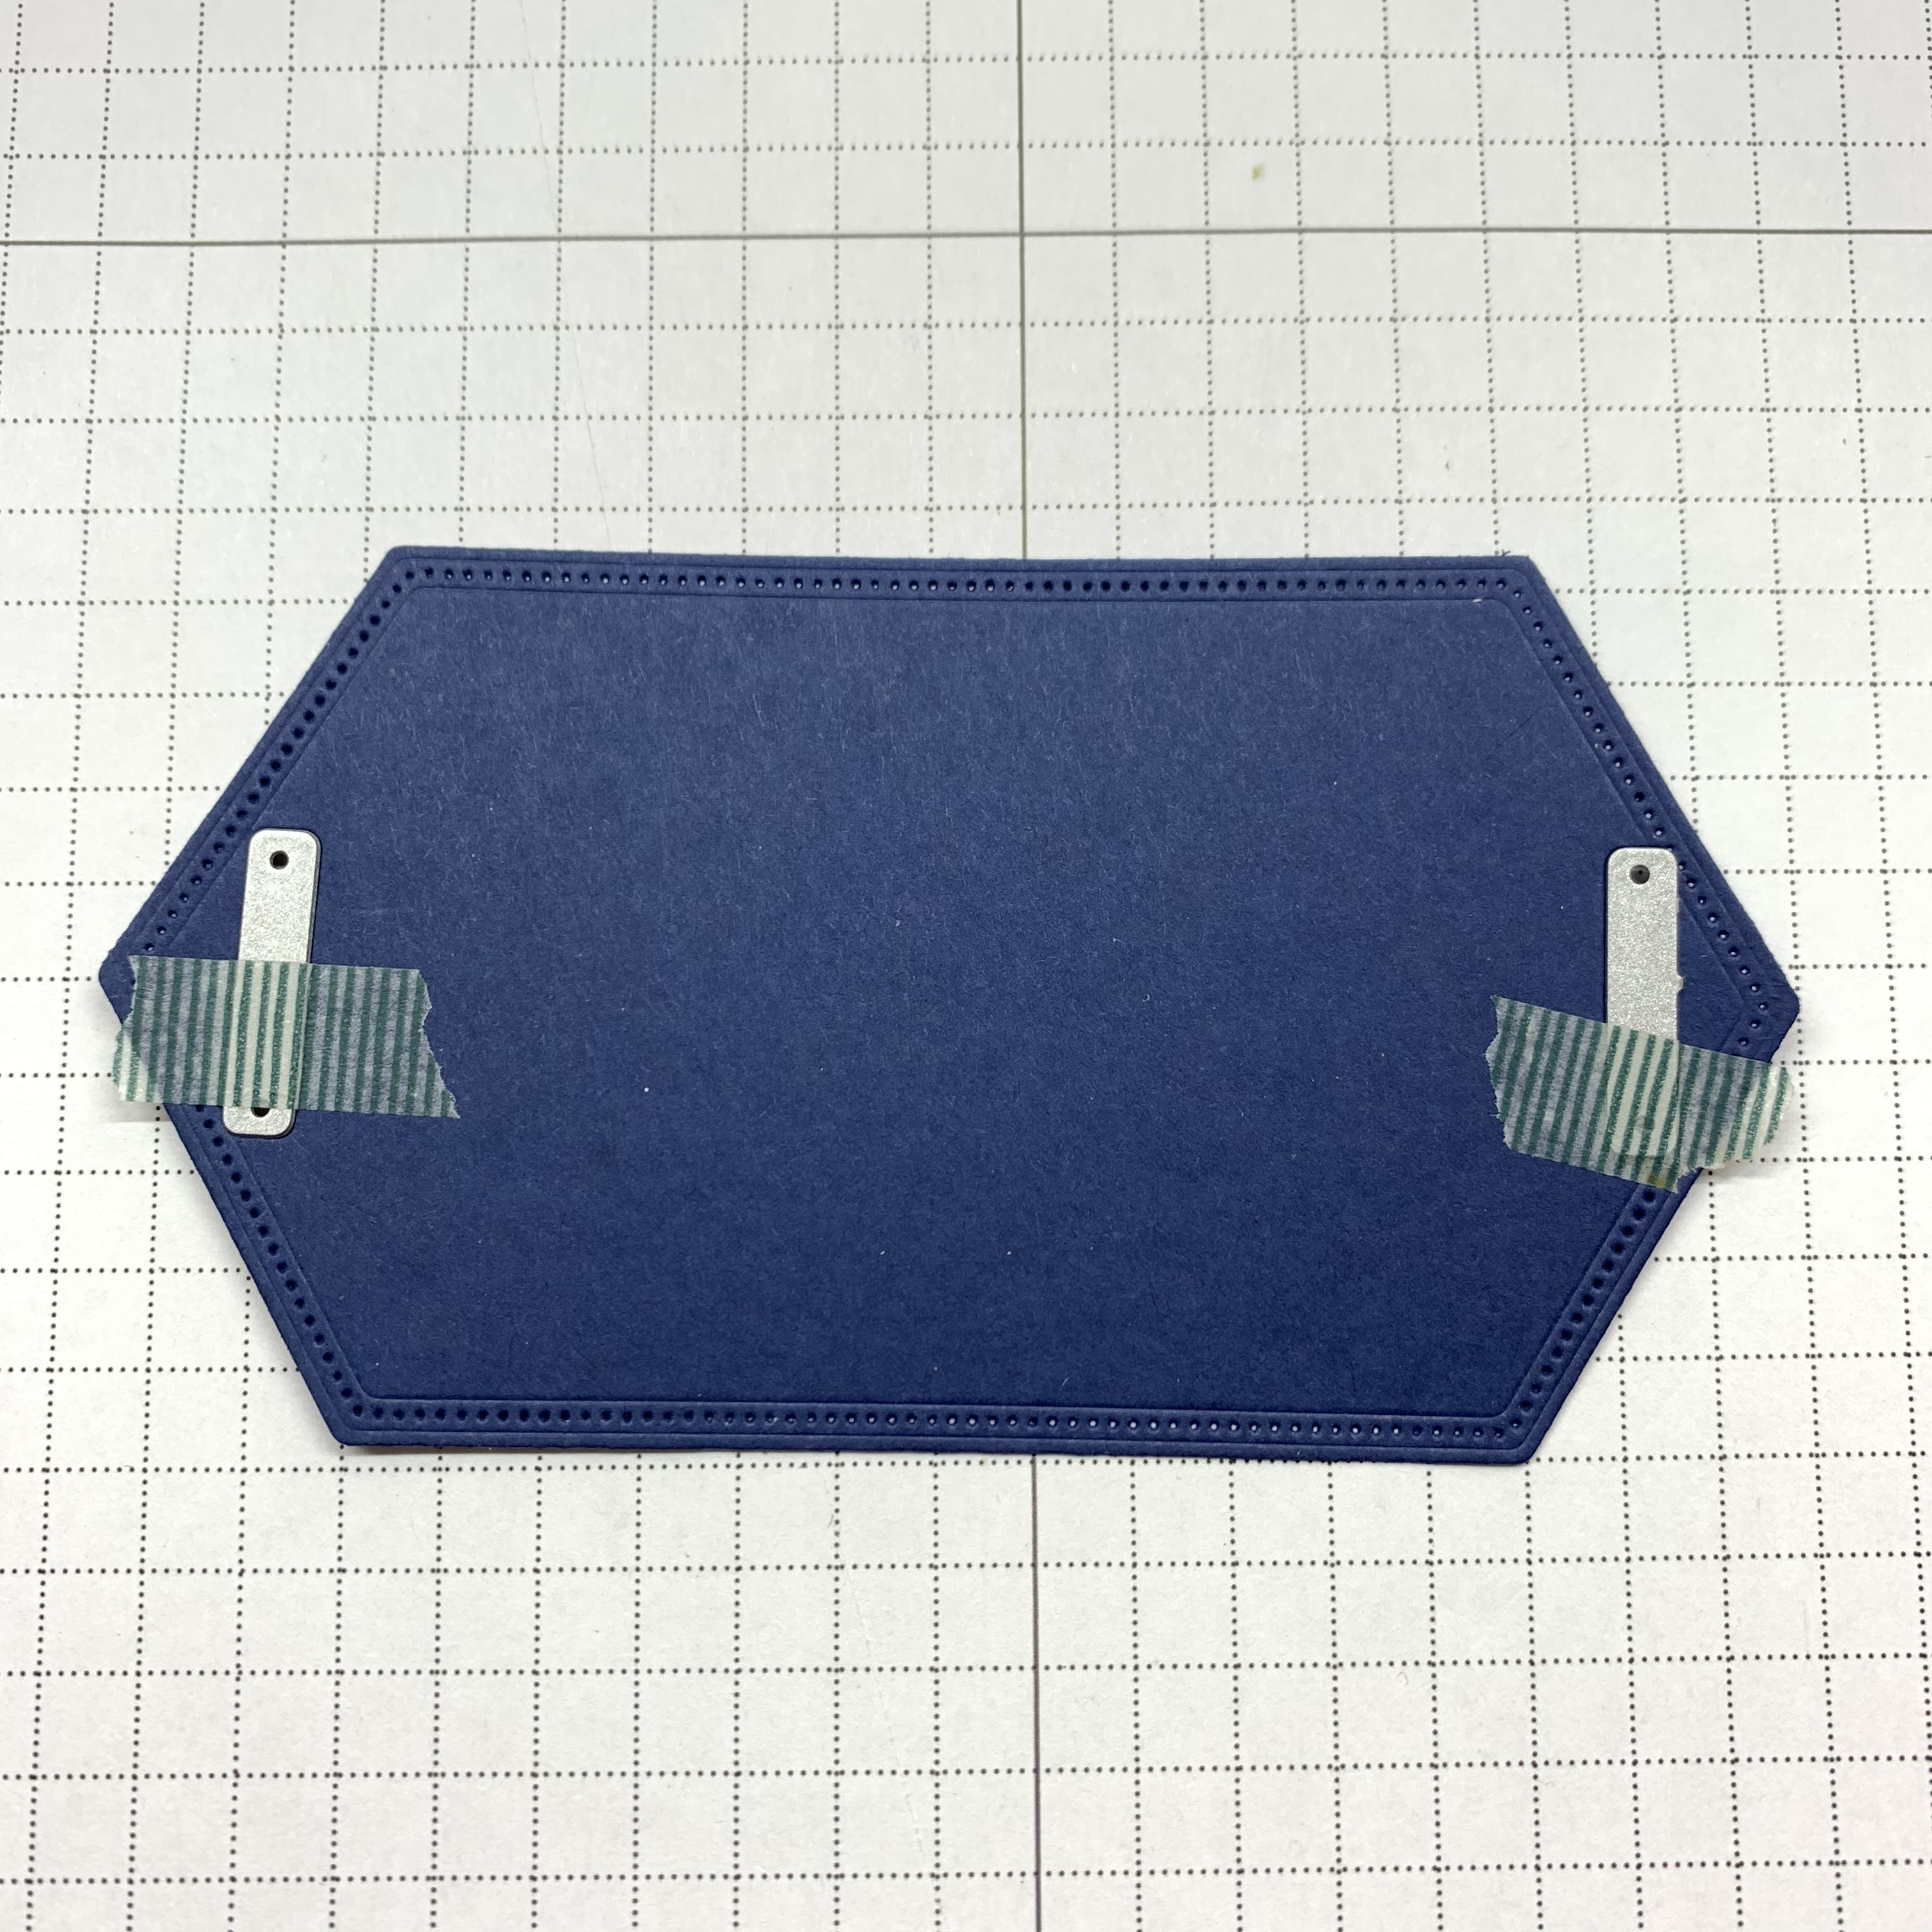
- In order to thread the Faux Linen ribbon through the Stitched Nested Label, I used the two "I"s from the Playful Alphabet dies as shown below. I used a little bit of washi tape to keep the dies in place as I ran it through my Big Shot machine.
PRODUCT LIST:
- Playful Patterns Birthday Card
- Pattern Party Decorative Masks (retired)
BIRTHDAY WISHES CARD
Card #2 is the "Birthday Wishes" card
|
|


For this card, I wanted to cut out some strips of the different patterns of the Playing with Patterns DSP to showcase them on the card front. This card came together pretty quickly.
TIPS:
- To achieve the different lengths of paper strips, don't cut them in different lengths. Instead, cut the 1 inch strips all the same length and offset them from the left edge of the card and then trim them with scissors after adhering them in place.
PRODUCT LIST:
LOVE FRAME
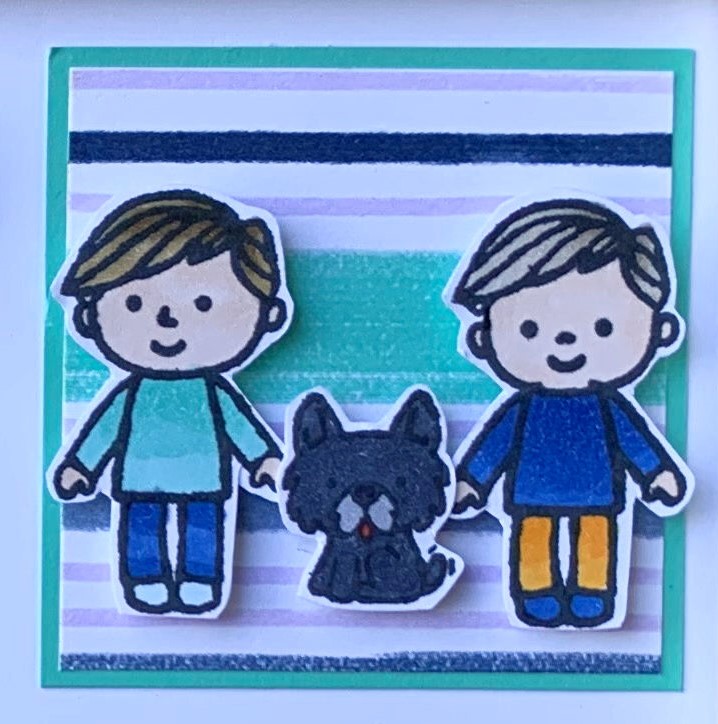
Finally, for this 3rd project I didn't want to make a card. Instead, I wanted to create a piece frame for our family of 5 using this beautiful paper and I'm super happy with the outcome! I just may make a few more for some family members.
Mostly everything I used to create this project uses current Stampin' UP! products except for the Family & Friends stamp set (2019 Occasions catalog) and the Varied Vases stamp set from the 2019-2020 Annual Catalog.
I did use alot of different products for this frame piece so it is involved and at an advanced level.

 |  |
 |  |
 |  |
- The overall size of the piece is 5" x 7"
- Cut 2" squares from Calypso Coral, Coastal Cabana and Crushed Curry Cardstock. 2 of each color.
- Cut 6 - 1 7/8" squares from the Playing with Patterns DSP.
- I stamped the little people onto whisper white cardstock with Memento Ink and colored them with my Stampin' Blends. I fussy-cut them and adhered onto the paper using dimensionals.
- The heart in the top middle square is cut out from Night of Navy cardstock using the smallest stitched heart from the Stitched Be Mine dies. I cut another heart out of Calypso Coral Cardstock and trimmed off the edge along the stitch line. Layer on top of the Navy heart using a dimensional.
- The sentiment, "love is what makes us family", was too long to fit in my square so I used my Night of Navy marker to color "love is what makes us" and stamp it onto the White cardstock first. Then I cleaned my stamp then used the marker again to color the "family" part and stamped it below the first part of the sentiment.
PRODUCT LIST:
- Family Love Frame
- Family & Friends stamp set (Retired from 2019 Occasions catalog)
- Varied Vases stamp set (Retired from the 2019-2020 Annual Catalog)
This is all I have for today! I do hope you enjoyed them and be sure to comment below on your thoughts of these projects (Please be kind).
Don't hesitate to contact me for any questions!
Until next time...
No comments:
Post a Comment