Wednesday, January 30, 2013

Stampin' UP! Swaps

I had a wonderful time at our downline demonstrator's meeting tonight. It's always so much fun to get together with ladies that love to do the same thing you do!
We did everything from eating together to talking about upcoming Stampin' UP! events (i.e. Dallas regional, convention) to swapping cards and making a make n take!

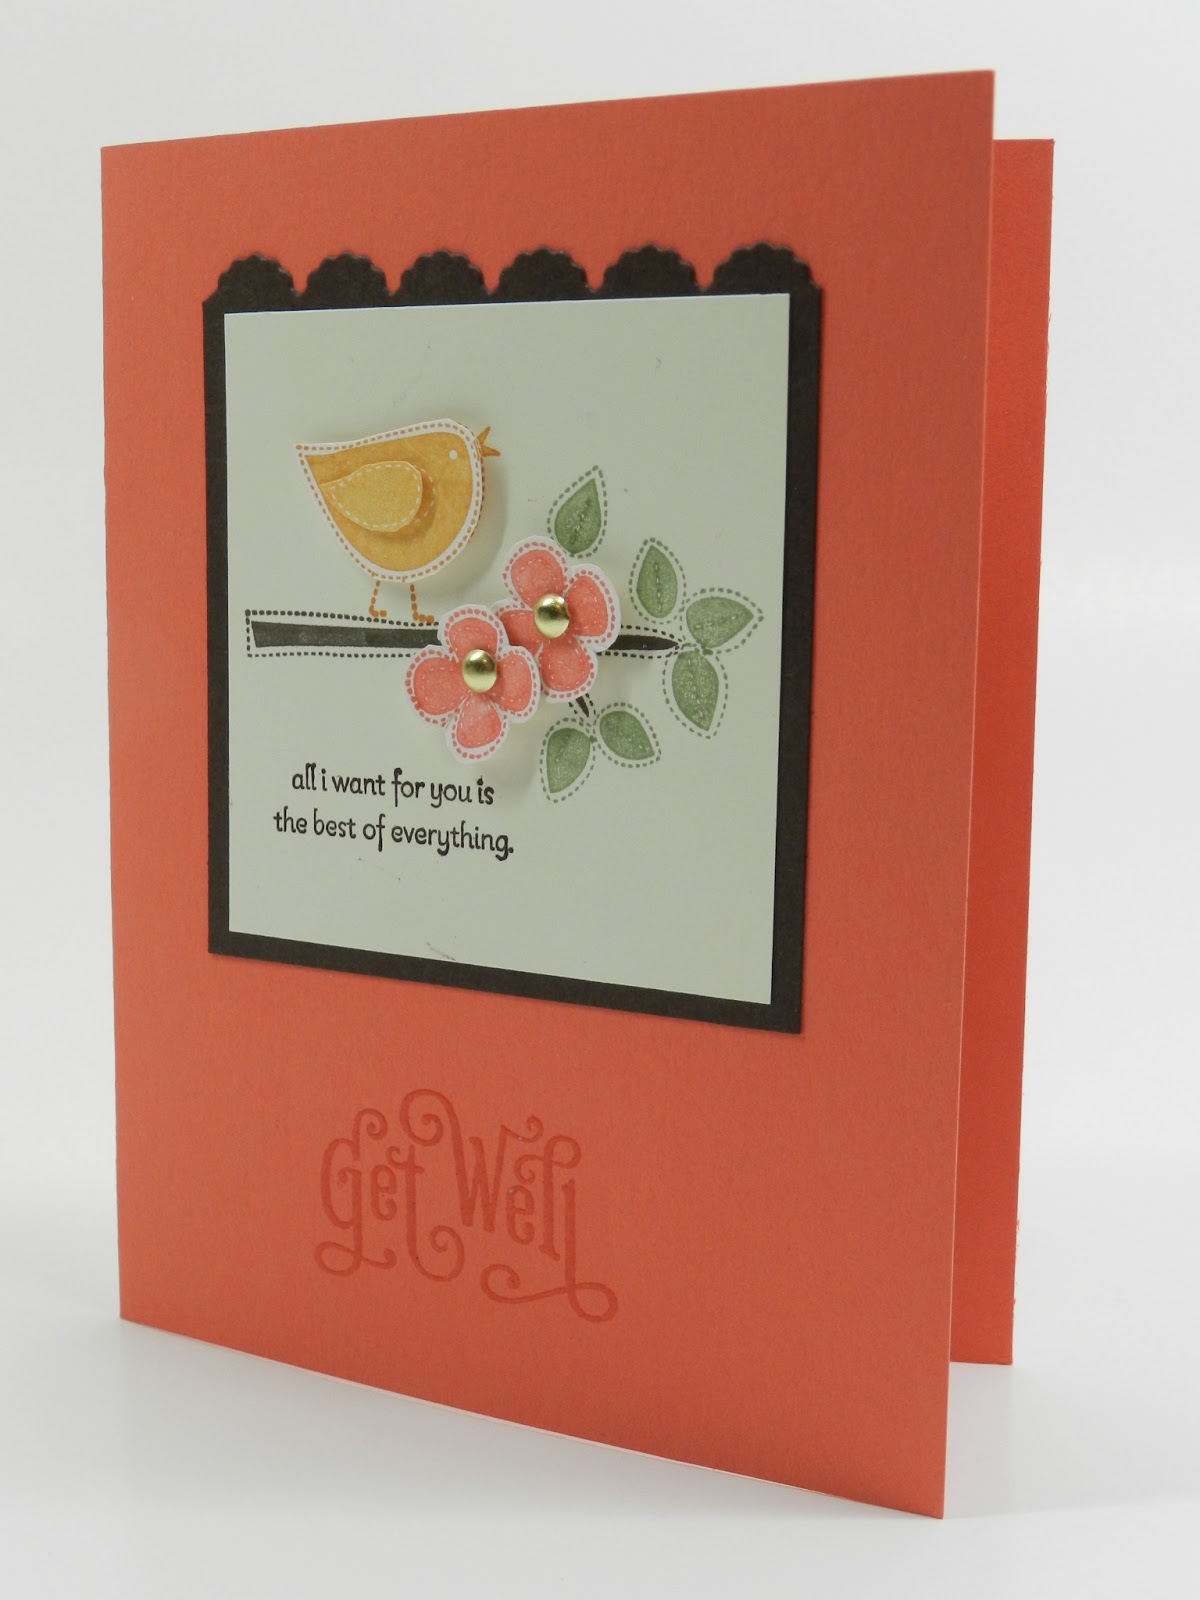
I must share some of these swaps with you as I think they are some amazingly beautiful ones and really is so inspiring to make some more cards!

We had 20 swaps but I will only be showing you my top 5 picks (not in any particular order).

Created by April Wells; her tips: create your choice of color for the doily by using a combination of alcohol, shimmer paint, and re-inker (i.e. baja breeze) in a spray bottle. instant beauty!


Created by Mary Gardina


Created by: Samantha Brown
 
Created by: Lana Baccus


Created by: Gina Uhtenwoldt; her tips: create the "hershey kiss" by crumbling up a piece of foil then punching it with the flower petal punch and cutting it in half.


If you have any questions on what supplies were used, please don't hesitate to leave a comment below. I will answer promptly.


I must also share another highlight of the night: the make n take that Denise Sullivan (my upline) so kindly prepared for us! Check out her blog on how to create this adorable mini post-it-note holder (www.gostampit.blogspot.com).


Supplies Used:
  • Cardstock: whisper white, summer starfruit
  • DSP: sycamore street (SAB)
  • inks: summer starfruit, tangerine tango
  • Stamp set: madison avenue (SAB), pretty petites (SAB)
  • ribbon:  sycamore street ribbon (SAB)
  • punches: 1/2" circle 

Stay tuned next week as I share our February stamp club projects featuring more SAB items: pretty petites stamp set, sycamore street DSP! Blog you again next time!!!


Wednesday, January 23, 2013

Stampin' UP! monochrome card

I was in the mood for a raspberry ripple monochrome card so I put one together for our upcoming downline demonstrator's swap.
It is full of products featured in the spring catalog.


I love the colorful designs in the Print Poetry DSP paper stack (pg 16). I used 3 of the different designs in this paper stack to adhere onto my honeycomb embossed CS of raspberry ripple.

Notice the subtle Itty bitties that I stamped with versamark randomly in the honeycomb.

To give the ribbon a little touch of something, I stamped two tiny feet onto some white CS and punched it out with the itty bitty circle punch.

I must say that the final touch of large pearls gave this card some "umph" and I'm lovin' it! 


 I'm trying to get better at decorating the inside of the card as well, so I figured I should give the Cuddles & Kisses stamp set a try and pair it with the itty bitty lips stamp. TOOO CUTE!!!

I'm simply in love with all the products featured on this card and  I hope you have been inspired to pair all the different products featured in the spring catalog.


Leave me a comment below and tell me what's your favorite product from the spring catalog? 

Supplies Used:
  • cardstock: very vanilla, raspberry ripple
  • DSP: print poetry
  • inks: raspberry ripple
  • stamp sets: cuddles & kisses, itty bitties, sassy salutations
  •  punches: owl, itty bitty circle
  • honeycomb embossing folder
  • raspberry ripple satin ribbon
  • large pearls    

IT'S TIME TO SALE-A-BRATE!!!
Take advantage of getting FREE products while you collect the beautiful products in the spring catalog!


  Blog you again next time!


Wednesday, January 16, 2013

Stampin' UP! spring catalog projects

Stamp club 2013 is back and in full swing! we had a great time putting together a couple of projects featuring a few stamp sets from the Spring catalog.

There are two different versions you can make with the different sizes of soda pop tops: so easy to  make your projects POP (pun intended)!


 I'm loving the soda pop tops! You could also put 6 small ones on the card. Whatever floats your boat!


Supplies Used:
  • Cardstock: summer starfruit, midnight muse, crumb cake
  • Inks: lucky limeade, summer starfruit, basic grey, midnight muse
  • Apothecary accents framelits  
  • Stamp sets: *Collage Curios or *itty bitties, *A little Greeting 
  •  Essentials paper piercing pack 
  • Punches: 1” circle or ½” circle
  • Ribbons: natural linen thread
  • *Needlepoint embossing folder 
  • *Soda pop tops   
* indicates products from the 2013 Spring Catalog. 


The boutique boxes designer printed kit was another project we put together and we can all agree when I say "it was a cinch to put together!". This kit is SUPER easy, quick, and not to mention inexpensive ($7.95)! 

I added a pack of 3 chocolate covered pretzels for my ladies to insert into their box. YUM! You can insert whatever you'd like.

Go ahead....I dare you to try it!

 
Supplies Included in the Kit (item #129306):
  • 8 die cut printed boxes (finished sizes: 2 1/4" x 3 1/2"x1/2") with 16 paper buttons
  • 8 printed note cards (4 ea of 2 designs)
  • 1 die cut printed paper embellishment sheet
  • 16 buttons: 8 ea in 2 colors
  • 5 yds crumb cake/very vanilla bakers twine
  • 24 stampin dimensionals

or you can save an extra 15% when you buy the printed kit and A little Greeting stamp set bundle (item#131104)


Be in the know with the latest Stampin' UP! Promotions in the right side of the page. Click on any image to learn more!

You can order the featured or other products NOW at my online store. Click on the link on the left side of the page.


Saturday, December 29, 2012

Baby Shower thank you's...Stampin' UP style

3 weeks ago we got to meet the cutest little baby boy in the planet! I'm biased because this is our baby boy! We have been getting to know him and I'm sure he's getting to know us as well. It's been so surreal and my husband and I are still trying to take in the fact that we are mommy and daddy.

We adopted baby Nathan from a beautiful young couple that has been nothing but a joy in our lives. We are deeply and most sincerely grateful for the gift they have given us. A gift that is priceless and everlasting!

With such a short notice about getting matched with a birth-mom, my sweet friends were quick at putting a quick baby shower/sip n see for us. Both showers were so wonderful and couldn't be more grateful for the sacrifice that these friends made for us.   


Unfortunately, I don't have pictures (yet) of the other baby shower. I did, however, had to put together a quick and easy thank-you for the amazing hostesses.....


I absolutely love the simplicity of this 3x3 card! It took me no time to put 15 of these together and attach them to some shortbread cookies that I made using the "Thank You" cookie stamp from SU! and packaged.Unfortunately, these cookie stamps were only for SU! demos. Sorry!!!

Supplies Used:
  • cardstock: very vanilla, soft suede
  • inks: summer starfruit, raspberry ripple, primrose petals  
  • stamps: punch bunch (sale-a-bration; retired) 
  • punches: scallop trim border, 1 3/4" scallop circle 

Everyone at the sip n see got to see our sweet baby boy..... isn't he just absolutely adorable?!!!

Nathan Christopher born 12/7/12 at 5:03am, 6lb 11 oz
 
birthdad Zach, birthmom Lizzy, baby Nathan, mom (me), dad (Chris)


little Nathan with baby Goofy at 2 weeks

  We praise God every single day for such a beautiful gift and give a HUGE thank you to all of you that have been and continue to pray for our family! We love you and thank our Heavenly Father for you every day.

Blog you again next time!......


Monday, December 3, 2012

Personalized Stampin' UP stationary

Happy December to you!!!
As we begin the end of the year 2012, I have looked back and reflected the ba-jillion events that occurred throughout the year and am just amazed at how fast this year went by, especially the month of November.

My year is ending on a very joyous note, however, because my husband and I are receiving our adopted baby very soon and just cannot imagine ending this year any better!

As we contemplated on what to gift the birth-mother and birth-father, I was (naturally) very quick to offer to make the birth-mother something hand-made. So, I did just that and decided to put together a stationary set that includes a matching pen, stamp, ink, and journal (from Wal-mart).


A personalized gift like this, I'm sure, will put a smile on anyone! Plus it's super simple and fast to put together!!! 

SUPPLIES USED:
  • Cardstock: pool party, very vanilla 
  •  vellum
  • DSP: very vintage (retired)
  • Punches: modern label, 1" square
  • Stamp Set: personalized monogram stamp (pg 147 of catalog), Affection Collection (holiday catalog), you're my type (retired)
  • clear mount stamp case (used or new: 119105)
  •  Non-SU!: paper pad (any office supply store), pen,  

MY TIPS:  
  • Use SU's clear mount stamp case to create your project. 
  • cut a piece of DSP to 10 5/8" x 7", score at 5" then 5 1/2", and decorate as desired
  •  to make the pen holder-piece (reference picture above):
    • cut 2- 1/2" x 4" pieces out of cardstock.
    • mark the outside folding edges of the DSP with a pencil, slightly larger than the pieces you cut out. 
    • Insert the DSP into the clear cover. Cut 2 vertical slits on the top and 2 vertical slits on the bottom
    • Place sticky strip on one end of the CS piece and insert into top slit. Then wrap over pen and adhere other end into opposite slit. Do the same for the bottom CS piece.
  •   use a paper pad that fits into the case, you may need to trim the bottom of the paper pad to fit.  

 
 I am happy the way it came out and I hope this inspires you to make your own for yourself or as a gift
Let me know what you think!!! I love comments!!!...............